Lorawan-server by Petr Gotthard
1. Introduction
This is an Open Source LoRaWAN server from https://github.com/gotthardp/lorawan-server.
2. Support Devices
All current LoRaWAN gateway can support the connection to this LoRaWAN server. Some gateway models have this lorawan server built-in by default. They are:
- HP0A
- HP0C
- LPS8v2
If for some reason, if the above model doesn't have this lorawan server in it. Users can install them manually.
2.1 Install lorawan server in Armbian System
2.1.1 Check if you have the Armbian system
Run command:
uname -a
cat /etc/debian_version

2.1.2 Install lorawan server
Run command:
wget https://github.com/gotthardp/lorawan-server/releases/download/v0.6.7/lorawan-server_0.6.7_all.deb
dpkg -i lorawan-server_0.6.7_all.deb
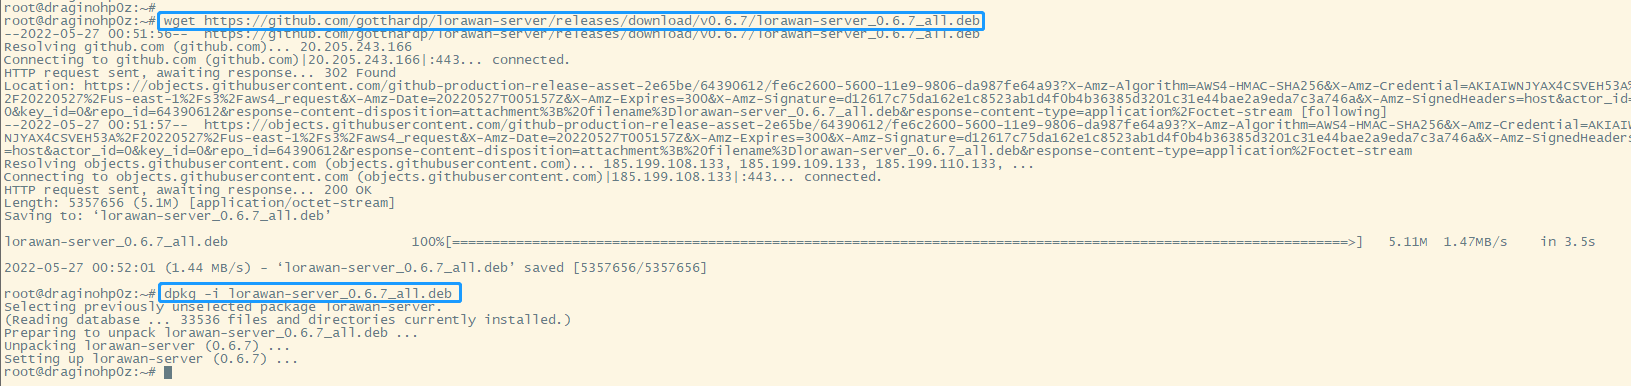
At this point, lorawan-server is installed
2.2 How do start lorawan server
2.2.1 Setting the automatic startup and start/stop lorawan-server via systemctl
If users want the server to start automatically after system reboot, run the command:
systemctl enable lorawan-server
start/stop lorawan-server via systemctl:
systemctl start lorawan-server
systemctl stop lorawan-server

By default, the server listens on HTTP port 8080 and expects "admin" as both username and password. Users can access it via a web browser by entering the URL, where is the IP or the hostname of your server: http://<ip_address>:8080
3. Configure Gateway
3.1 Register Gateway
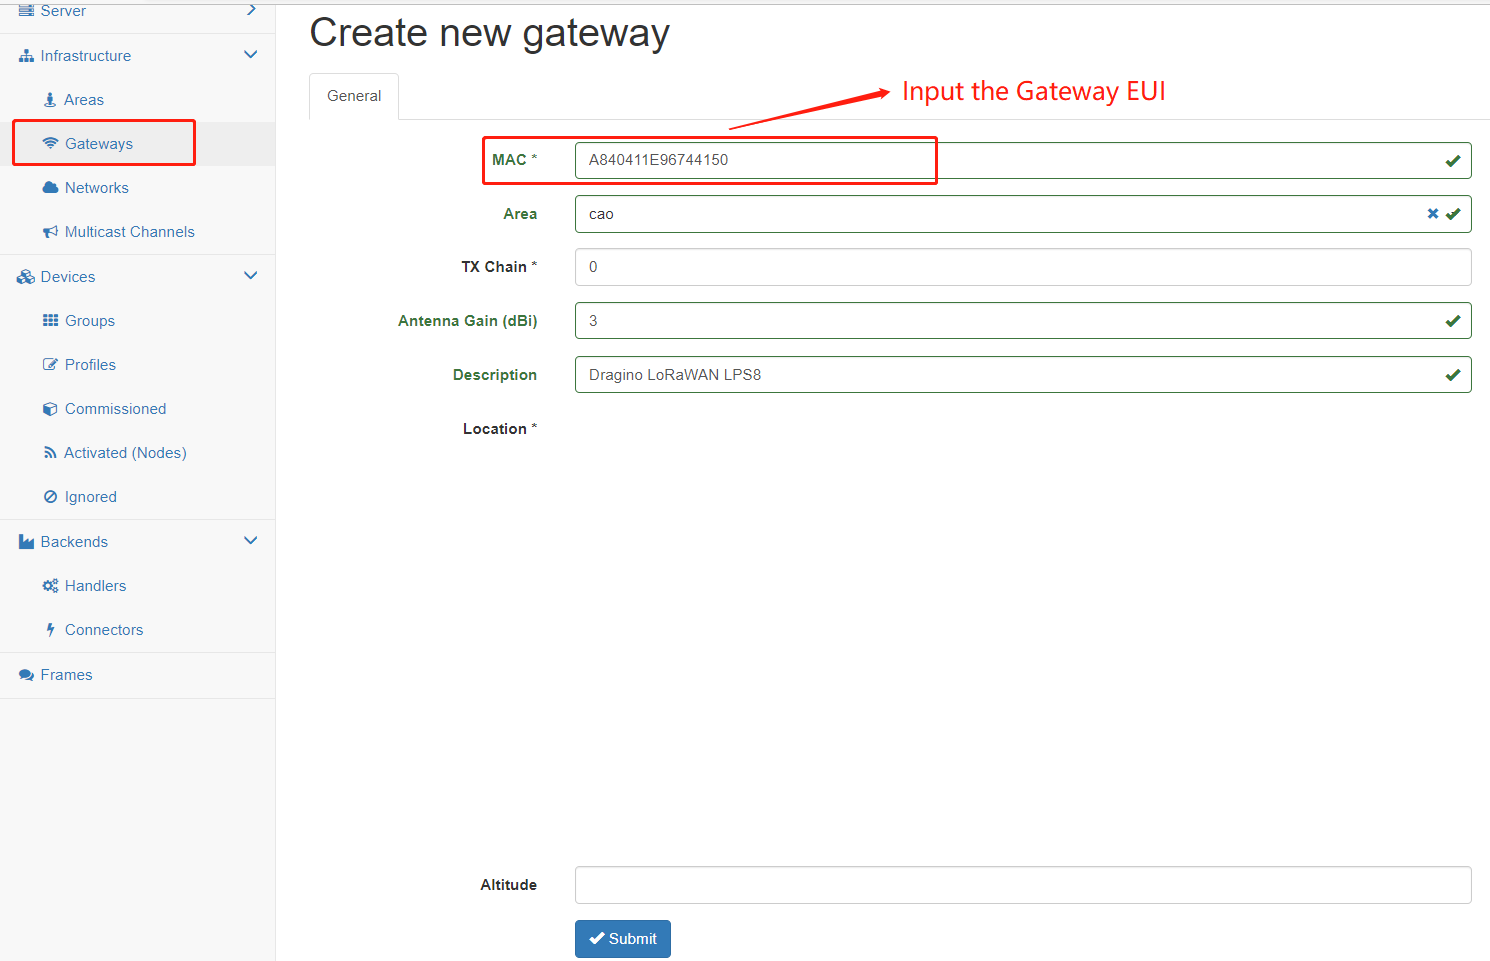
Back to the page of Semtech UDP check the secondary server settings and click the button of Save&Apply.
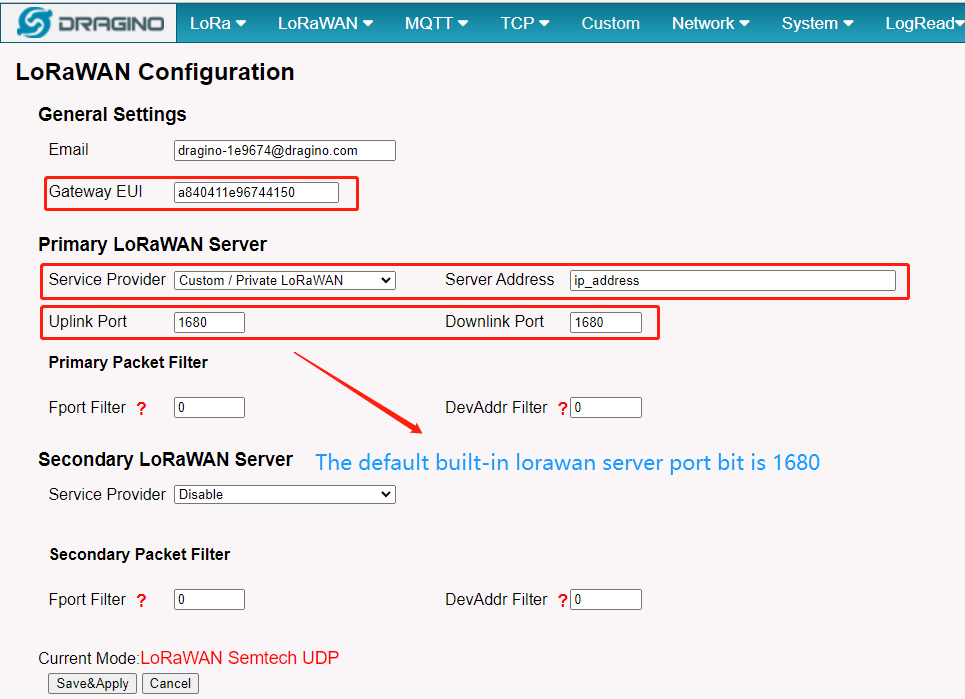
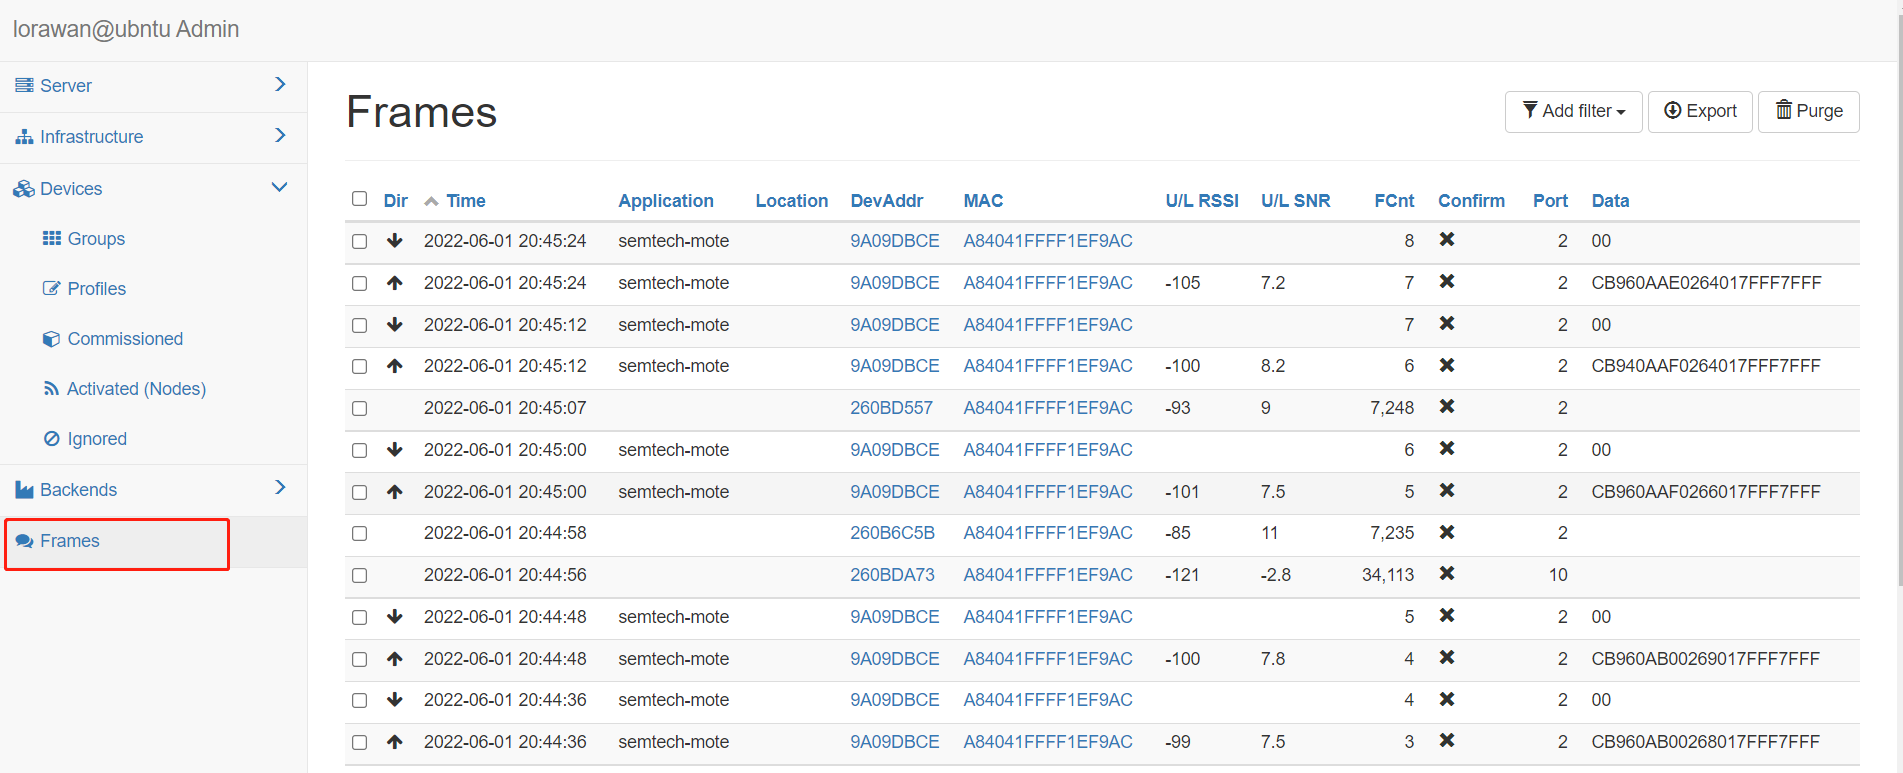
If the user completes the above steps, you can check your gateway status on the built-in Lorawan server.
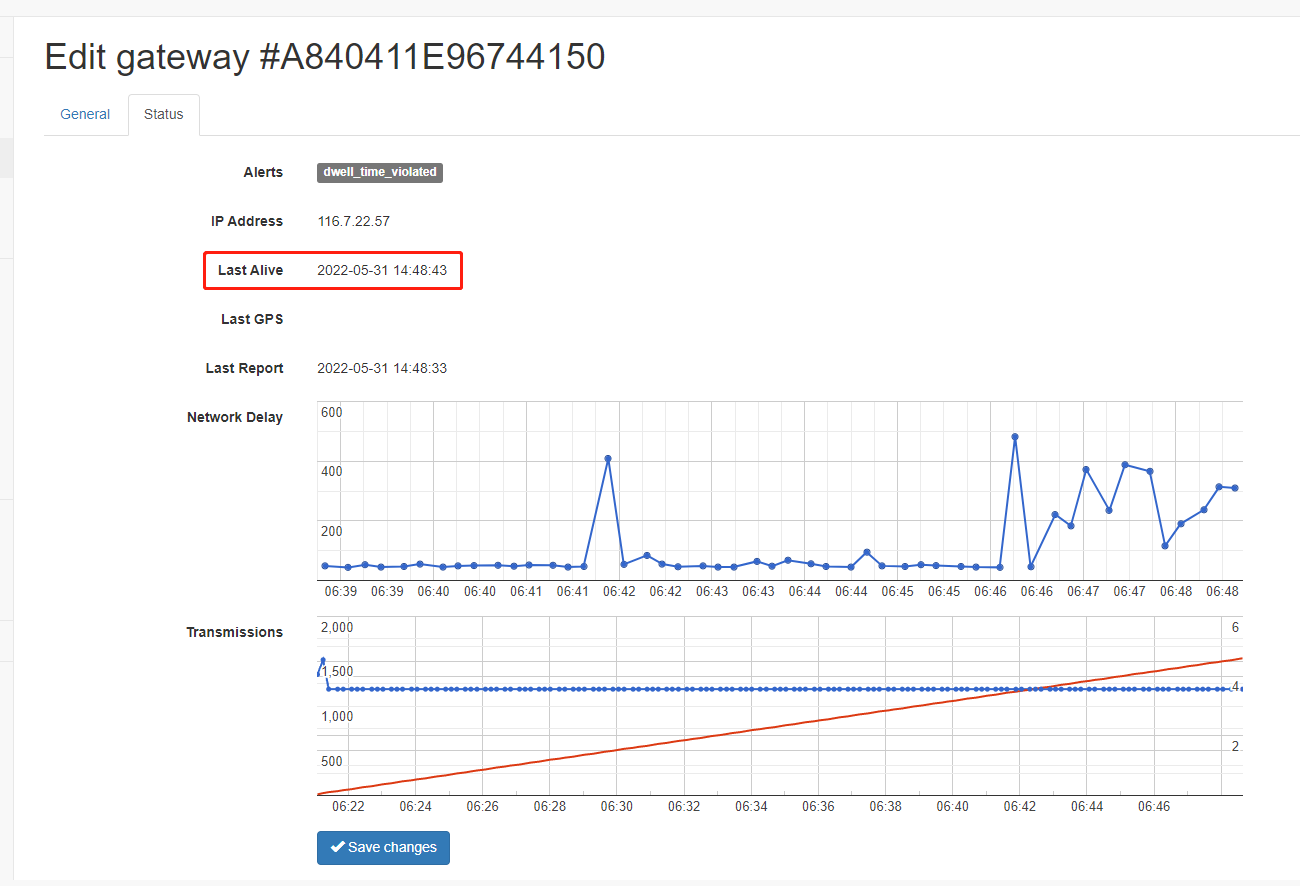
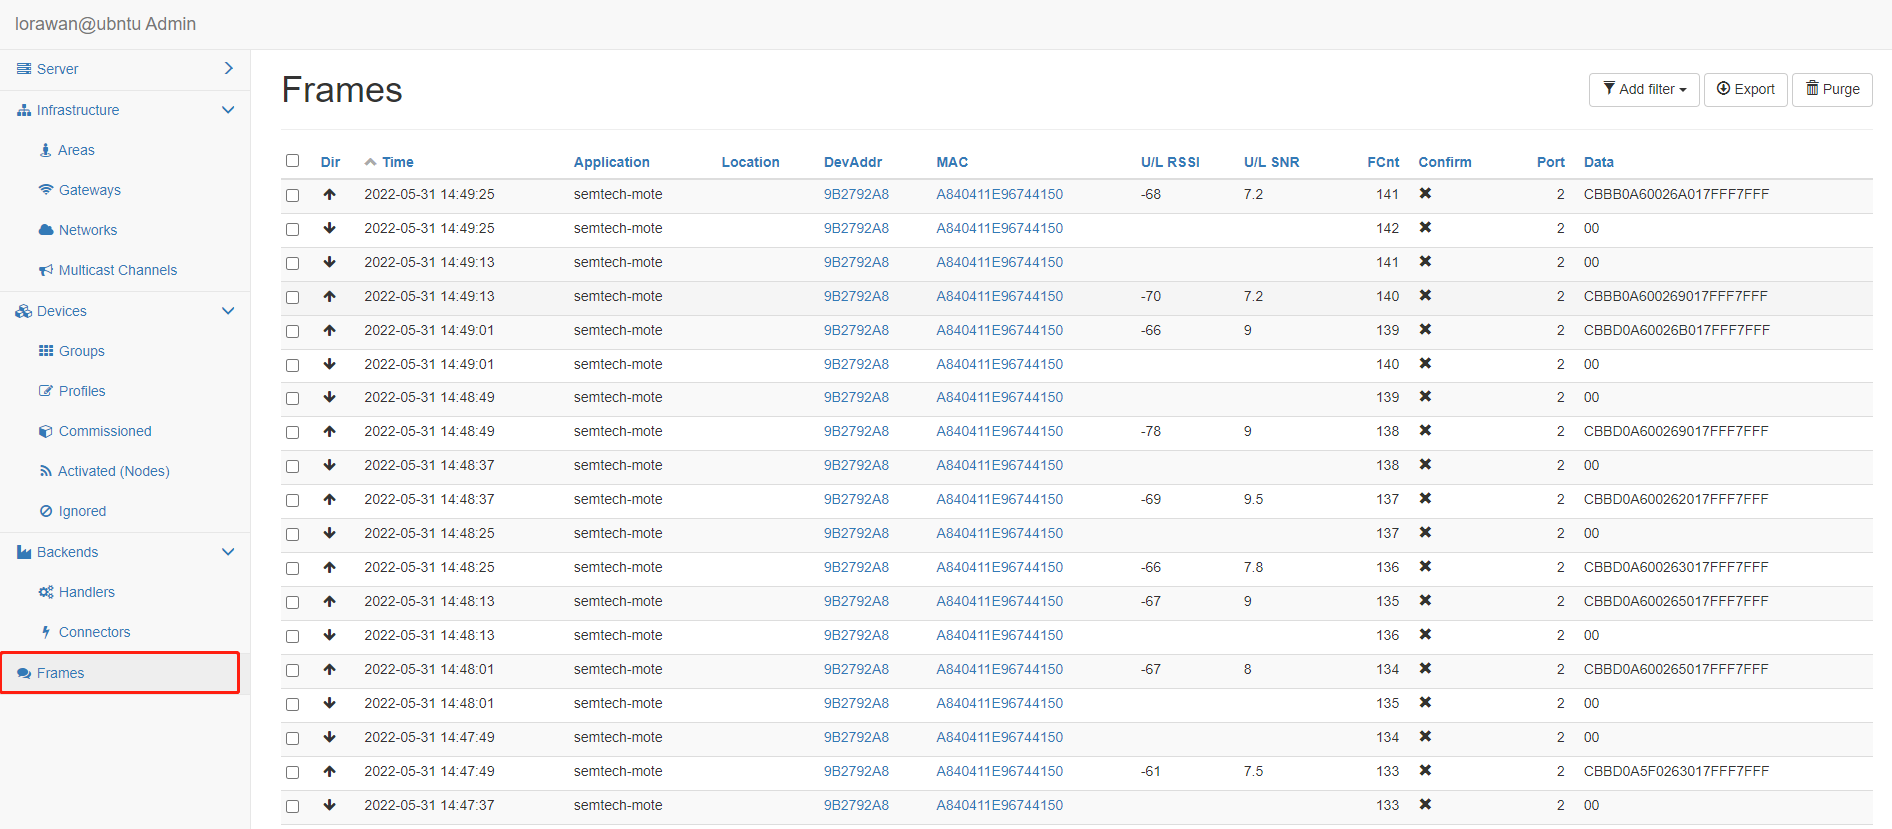
4. Configure Sensors
4.1 Step 1. Add the Networks
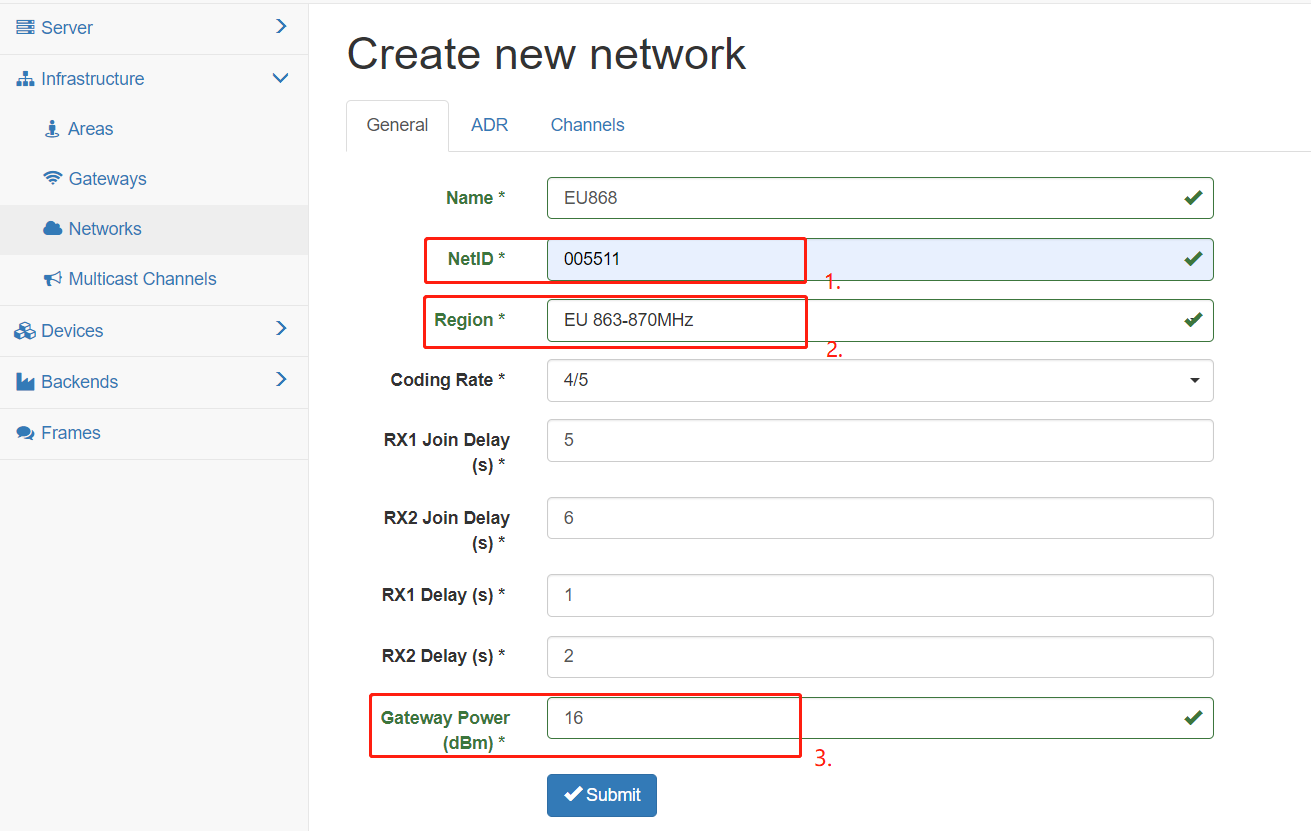
The following are examples of adding EU868 frequency nodes
See this link for more frequency configurations https://github.com/gotthardp/lorawan-server/blob/master/doc/Regions.md
- Input the NetID* --> Random 6 digits
- Choose the Region* --> EU 863-870MHz
- Gateway Power --> Default value of EU868 is 16dBm
Configuration of ADR
- Max EIRP(dBm) * --> 16
- Max Power * --> Max
- Min Power * --> Max - 14 dB
- Max Date Rate * --> SF7 125kHz (5470 bit/s)
- Initial RX2 DR * --> SF12 125kHz (250 bit/s)
- Initial Duty Cycle --> 1 (100%)
- Initial RX1 DR Offset --> 0
- Initial RX2 Freq (MHz)* --> 869.525
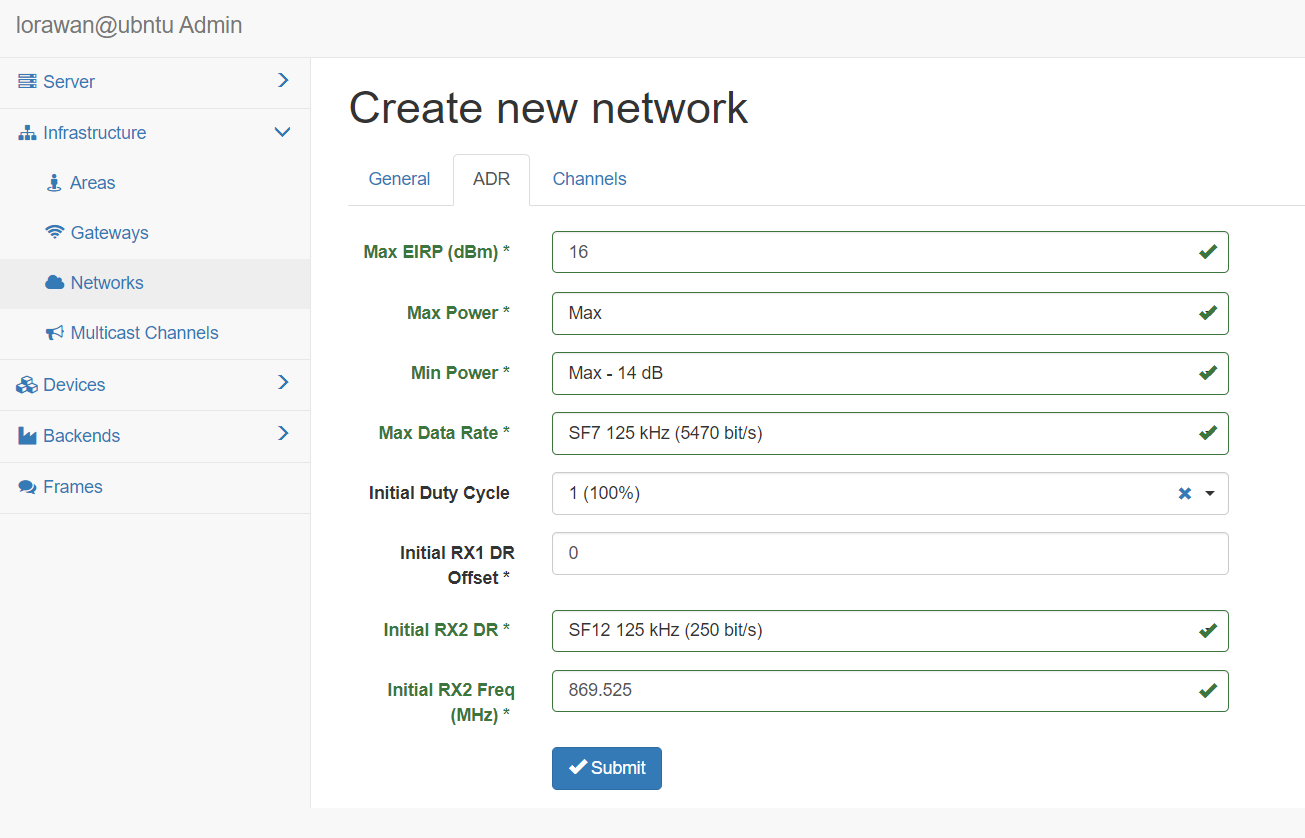
Configuration of Channels
- Initial Channels --> eg. 0 - 2
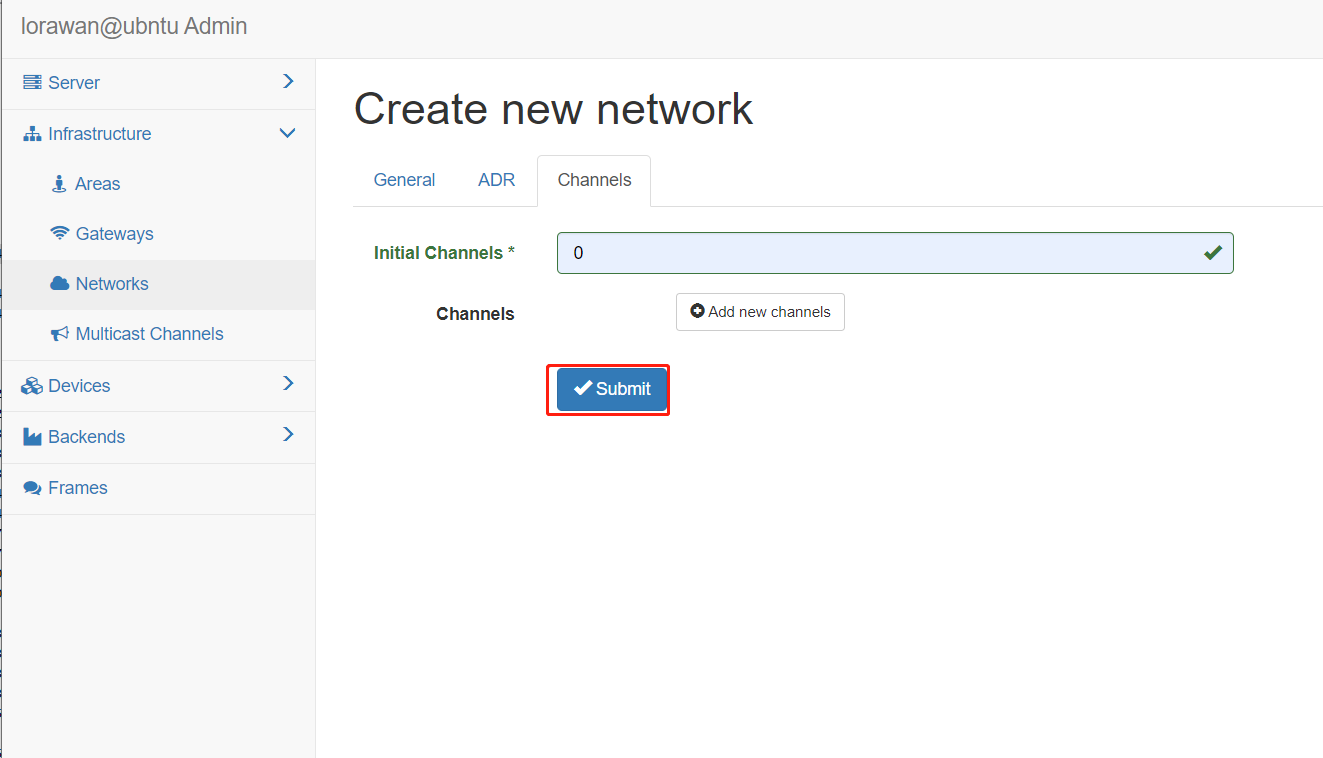
Finally, click "submit", Complete the Add Networks step.
4.2 Step 2. Create new group
- Name --> custom
- Network --> Enter the Networks configured in the preceding steps
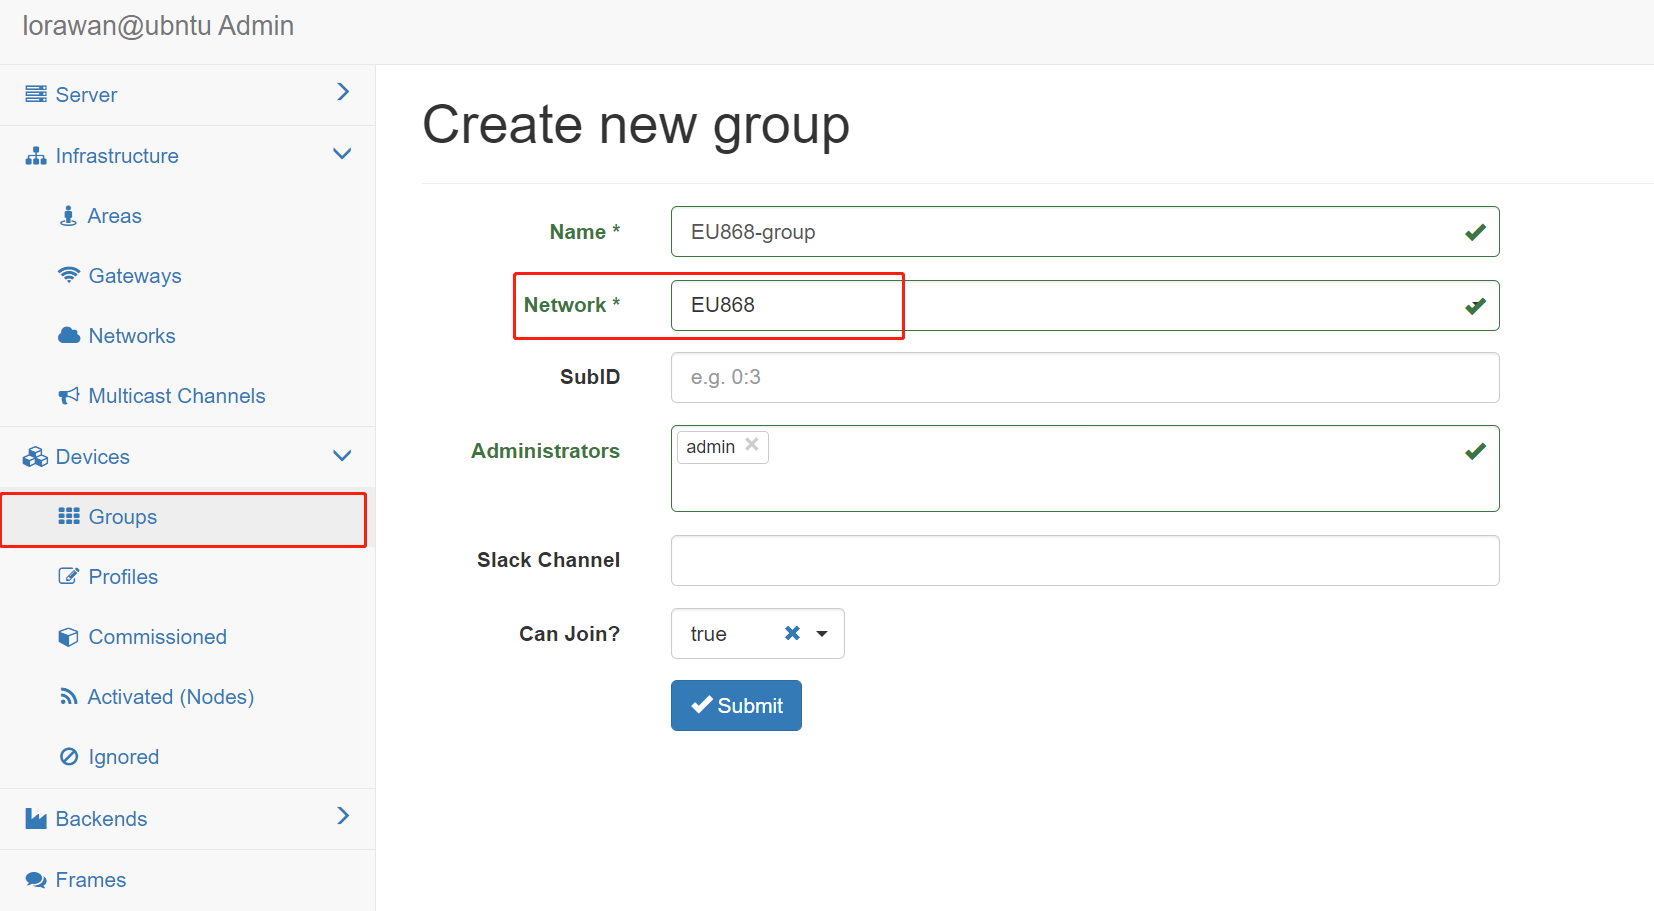
4.3 Step 3. Create new profile
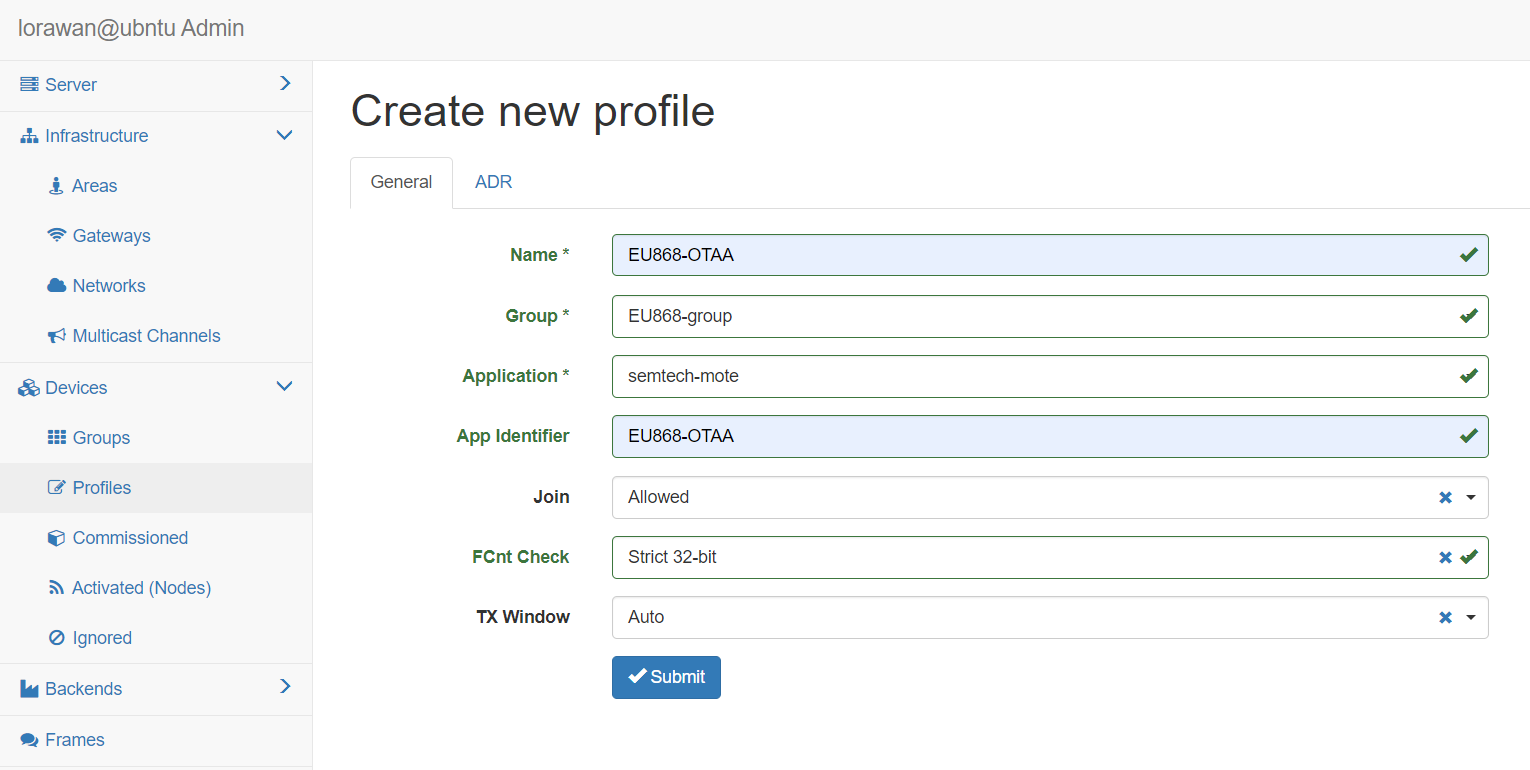
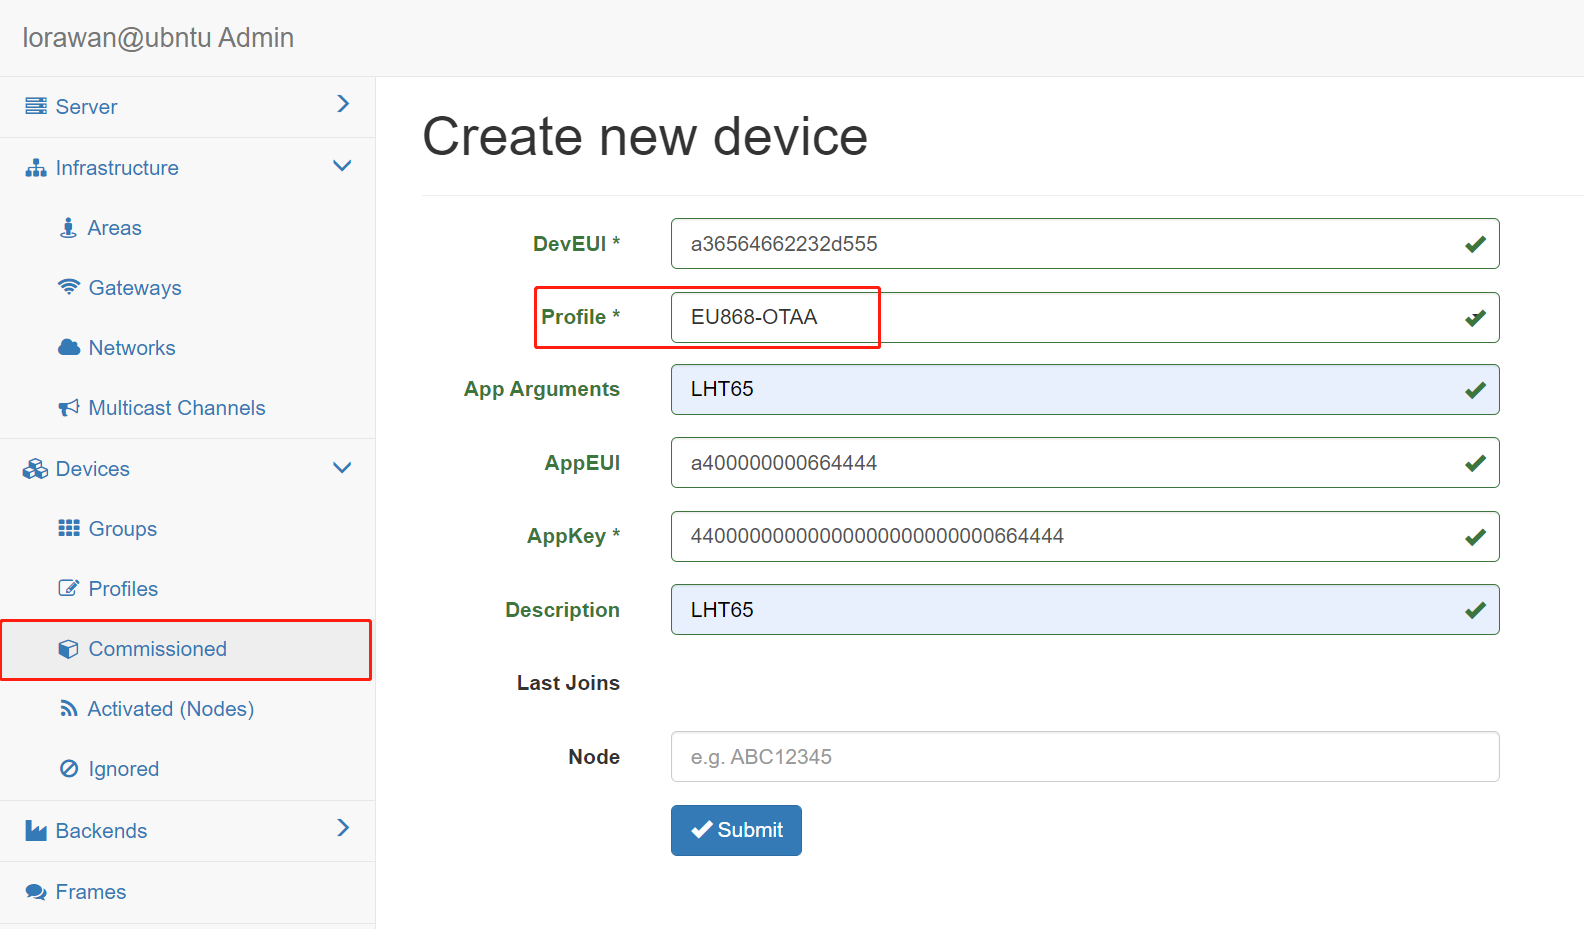
4.4 Step 4. Create new device
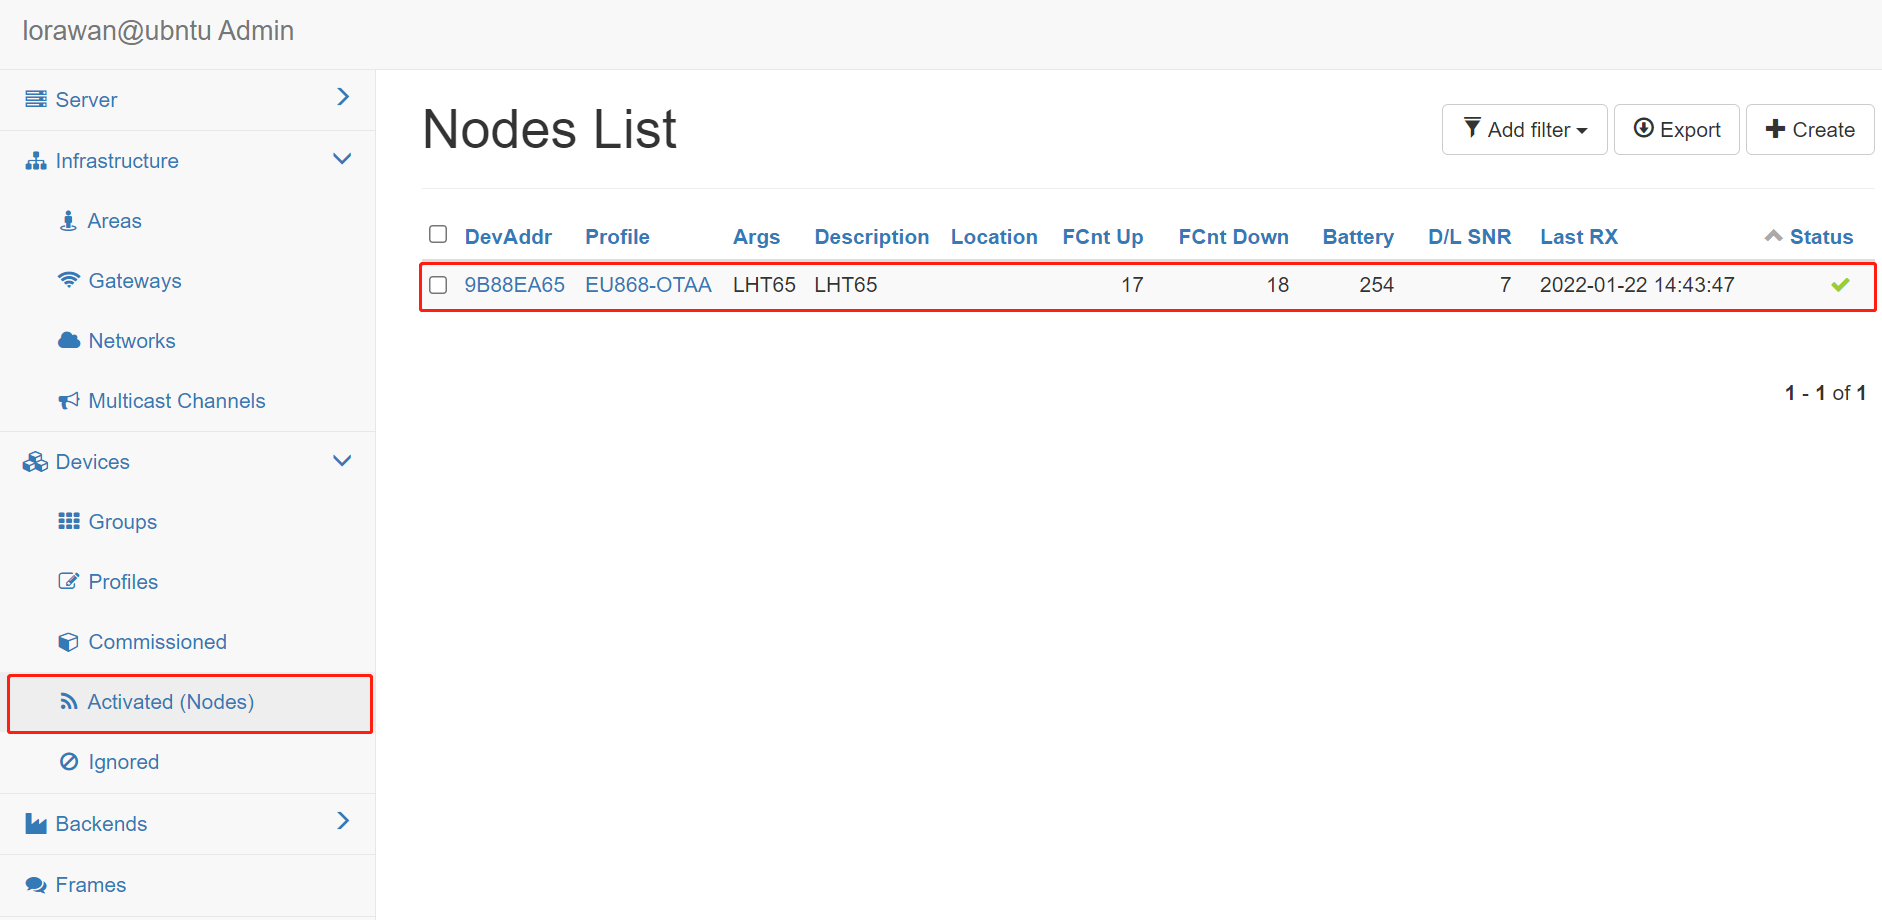
4.5 Checking node Status